Tool Maintenance its 3-in-One Multipurpose Oil
Post sponsored by 3-IN-ONE Oil; however, all views expressed below are my own.
Basic Tool Maintenance with 3-in-One Multipurpose Oil
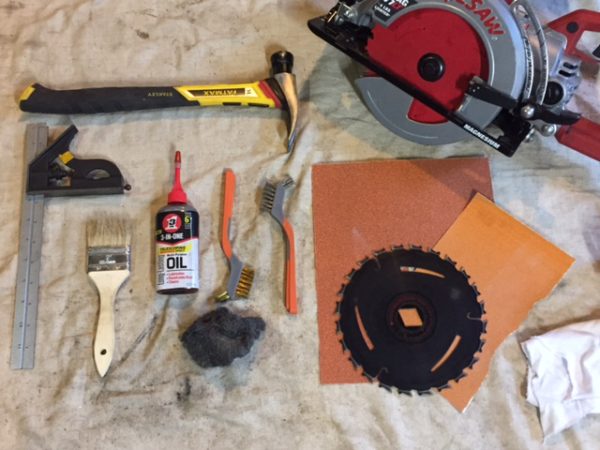
Regular tool maintenance rarely seems to be regular. Often it isn’t until you start to notice rust on a piece of equipment before maintenance becomes a priority. Well basic tool maintenance with 3-in-One multipurpose oil simplifies this task. This simple basic tool maintenance how-to will show you the few tools and supplies you need to quickly refurbish tools.
3-in-One gets its name from it’s inventor George W. Cole for the oils ability to clean, lubricate, and protect. 3-in-One has been a staple in my basic tool maintenance since I learned to sharpen my first plane. 3-in-One multipurpose oil is great for removing surface rust, keeping moving parts smooth, and is a rust inhibitor. With these basic tools you can quickly prep, clean, and protect your tools.
Basic Supplies:
- Chip Brush
- Steel Wool
- Sandpaper (100 & 220 Grit)
- Stainless Steel Bristled Brush
- Brass Bristled Brush
- Rags
- 3-in-One Multipurpose Oil
Prep Tools
Before you bust out the oil, you’ll want to prep your tools first. Basically you want them to be free of dirt, dust, etc. For most tools, this consists of a quick wipe down with a mild cleaning agent or at a minimum a damp rag. Anything that creates dust, like saw dust, will need a little extra attention. Dirt and dust do not mix well with oil and if you are maintaining your tools build up of dust is a great place to start.

Removal of saw dust from tight spaces with Chip Brush.
I like to use a chip brush to prep tools, these little guys get into tight spaces and do a great job of mechanically removing dust. If you have access to compressed air, a quick blowing finishes the job. I’ll often use my 18-Volt Cordless Leaf Blower as a substitute. After some serious airflow, your tools are pretty much dust free and ready for oil.
Identify Rust
Basic Tool Maintenance with 3-in-One Multipurpose Oil is simple as long as you keep it simple. Sure I’ll give the whole tool a “once over” with a rag, but in general I’m attacking problem areas. So as you check the operation of a tool, dials, and adjustments note areas that need lube and identify rust. The gallery below highlights some areas I want to address and prevent the spread of rust on my tool. I also identified some rust on the shoe plate. (Not shown)

Surface rust on rafter hook.
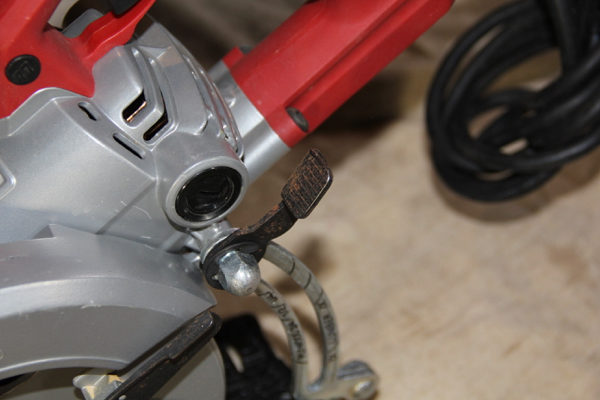
Rust on Depth Adjustment.
Apply 3-in-One Multipurpose Oil
You can apply 3-in-one multipurpose oil directly to the surface you want to clean, but I like to use that chip brush to quickly spread the oil over large surfaces. This makes for quick application. Also you can spread the oil in advance so you could end up using less oil and this saves you some time. No need to repeatedly pick up and put down the oil for applications directly from the bottle throughout the cleaning. I’ll load the chip brush with oil, then distribute oil to moving parts, and use the telescoping marksman spout to get to hard to reach areas.
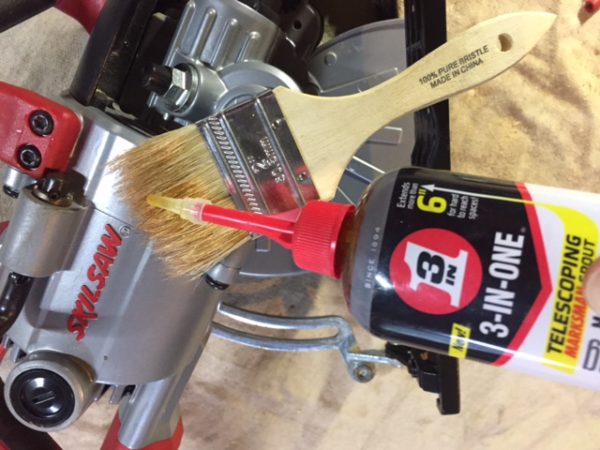
Loading chip brush with 3-in-One Multipurpose Oil.

Distribute 3-in-One Multipurpose Oil on metal parts, using Chip Brush.
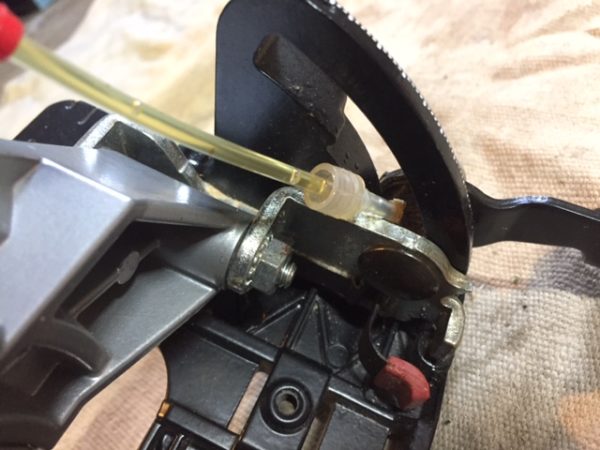
Applying 3-in-One Oil to hard to reach moving parts with Telescoping Marksman Spout.
Remove Rust with Sandpaper, Steel Wool, and Brushes
3-in-One Multipurpose Oil is a great solvent but you’ll need some abrasives to remove scaling and rust. Depending on the condition of the metal the following are listed from most aggressive to most delicate. 100 Grit Sandpaper, for aggressive deep rust removal. 220 Grit Sandpaper, for fast removal of heavy surface rust and scaling. Stainless Steel Bristled Brush, for a targeted but abrasive rust removal. Brass Bristled Brush, for gentle softer surface removal and burnishing. Steel Wool, for gentle removal and polishing of metal.
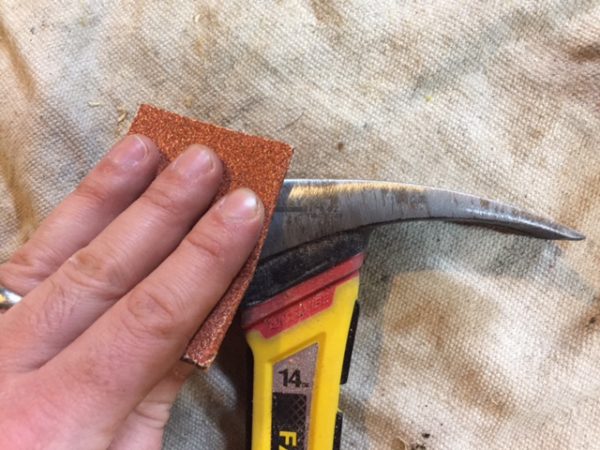
Deep rust removal with 100 Grit Sandpaper.
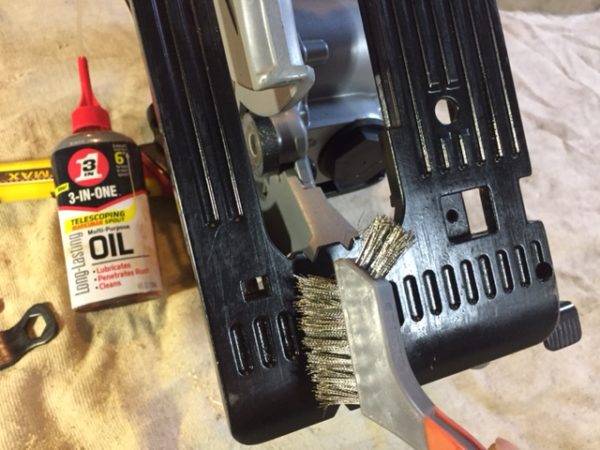
Removal of rust in shoe plate detailing with Stainless Steel Bristled Brush.
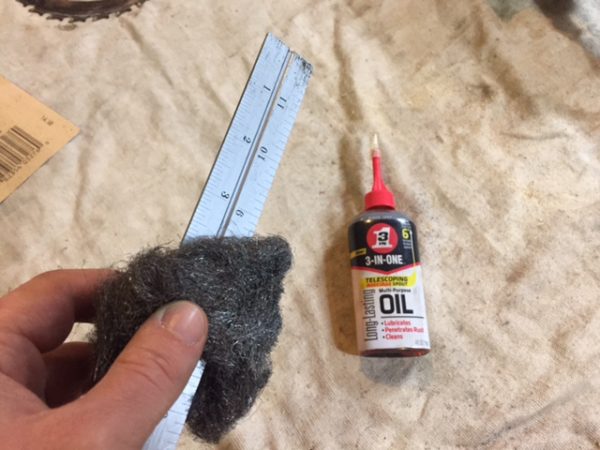
Surface rust removal and polishing of Combination Square Ruler with Steel Wool.
Protect Tools with 3-in-One Multipurpose Oil
Once you’ve refurbished your tools with oil on moving parts and removed all rust with methods above give your tools one last wipe with a rag to ensure they are clean. At this point I like to brush on a final light coat of 3-in-One Multipurpose Oil and give the product some time to work into the tool. Finally I finish with a light polish using a clean rag.
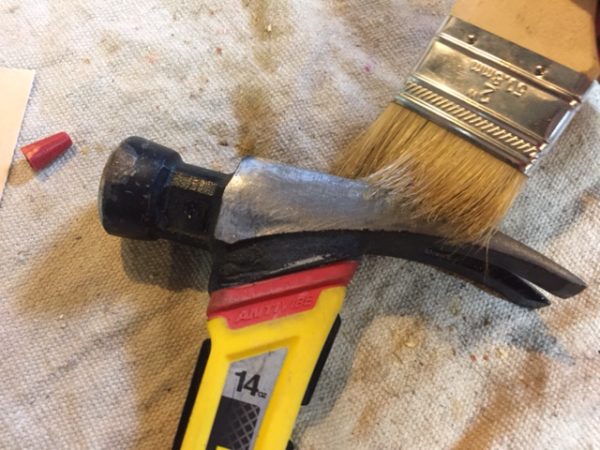
Applying a light coat of 3-in-One Multipurpose Oil to rust free metal.
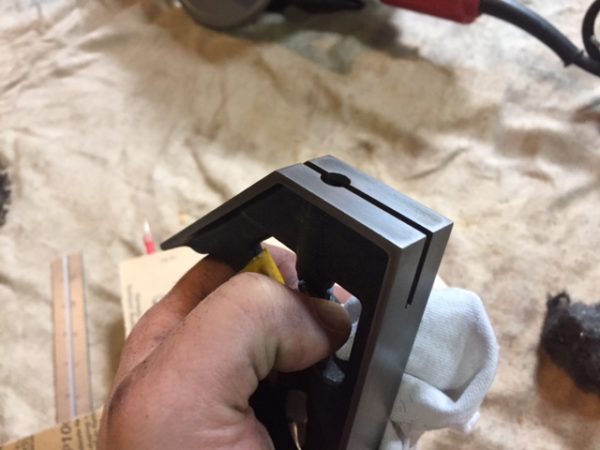
Combination Square Head polished with a clean rag.
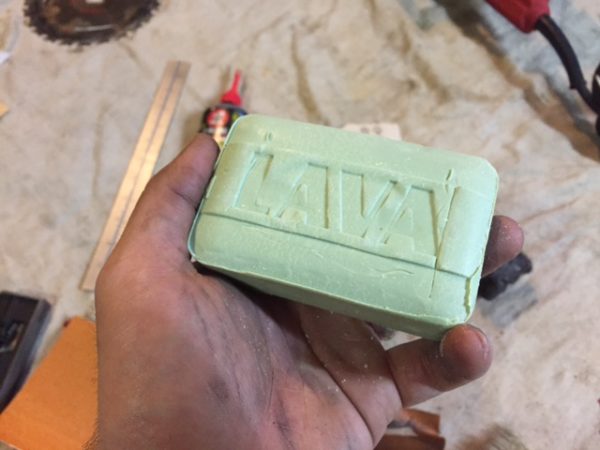
By doing a quick re-application of the product you can protect tools with 3-in-One Oil. You’ll be doing a final wipe down of your tool to clean off the rust and scaling you just removed anyway. With a final coat of 3-in-One Multipurpose Oil, a corrosion inhibitor, you’ll prolong the time between your next cleaning. But after this experience we hope you’ll see basic tool maintenance as an easy chore! Now all is left to do is clean up, we use Lava Soap, check it out here!
About the author
Disclosure
Product reviews on this site contain our opinion of a product or service. We will always strive for objectivity and transparency in our reviews. Our goal is to provide readers with honest, objective information based on our own experiences. We never have and never will accept payment in exchange for a positive review. Many of the products that we review are provided to us for free by a manufacturer or retailer. In some cases, we also have advertising or affiliate relationships with manufacturers and retailers of products and services we review. For additional information please visit our additional disclosure policies.


