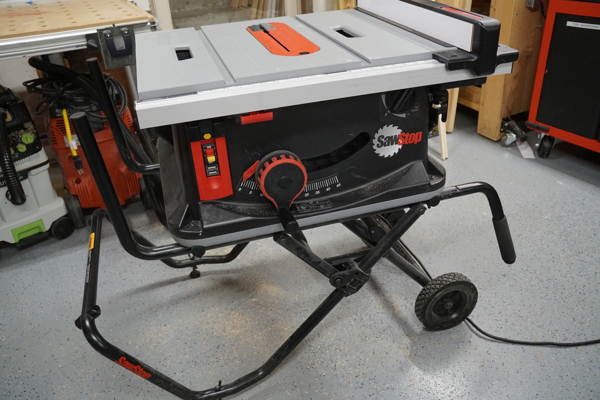
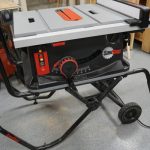
SawStop Jobsite Table Saw JSS
SawStop Jobsite Saw Model JSS Review
SawStop Jobsite Table Saw JSS
- Blade Guard
- Splitter and Anti-Kickback Pawl
- Riving Knife
- Large safety switch
- Push Stick
- Flesh Sensors
SawStop Blade Brake Technology
We recently took the SawStop Jobsite Saw JSS to our jobsite to evaluate. SawStop table saws are famous for their flesh sensing blade braking technology that stops the saw within 5/1000ths of a second after contact with skin.
While a lot of hoopla has surrounded this saw what often gets lost in translation is that with or without the flesh sensing brake technology, this saw offers premium features and performance.
How SawStop Works
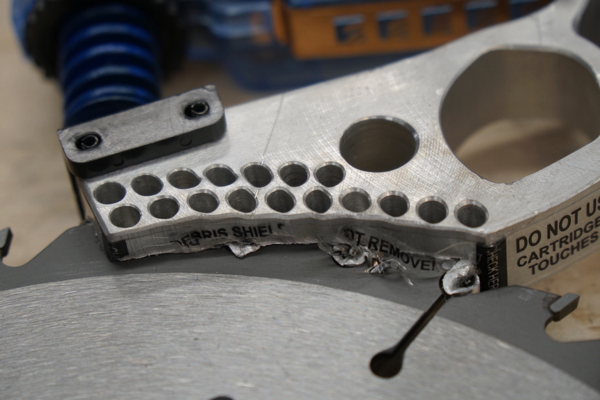
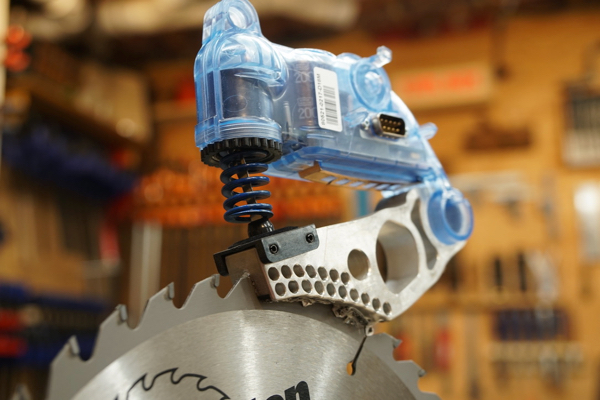
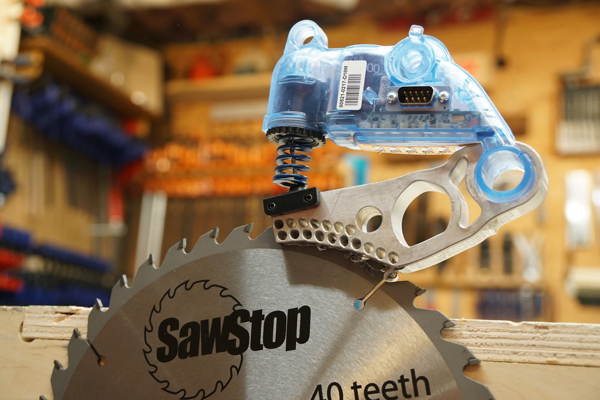
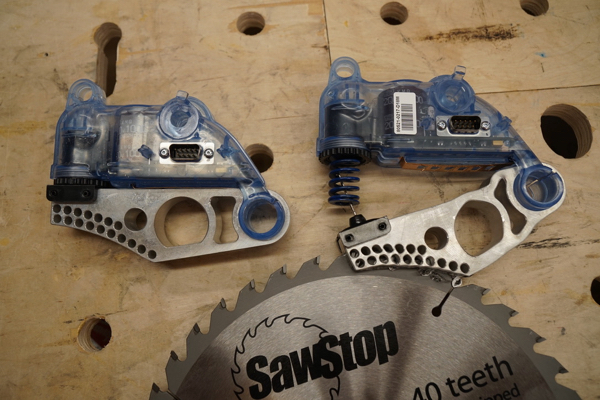
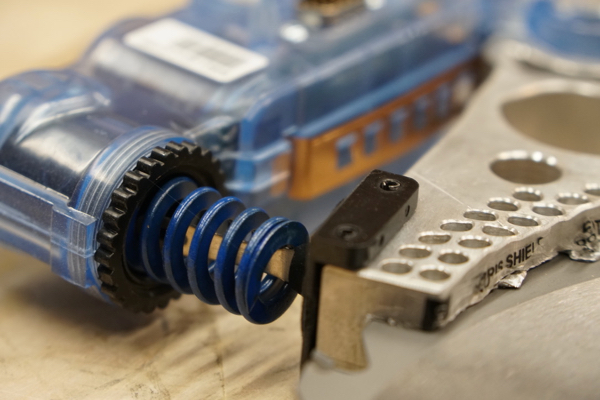
The saw blade carries a small electrical signal which monitors and detects skin contact with the blade, the signal in the blade changes because the human body is conductive. Once the signal changes, the saw activates a braking system which is a spring loaded, aluminum brake that embeds into the spinning blade, stopping it in 5/1000ths of a second.
The brake and blade collision momentum drives the blade beneath the table top, removing the blade from view, and simultaneously turning off the saw motor.
After an activation the saw needs to be reset. This is accomplished by replacing the saw blade and activated SawStop brake cartridge. The reset process takes approximately five minutes.
Saw Capacity
The SawStop Jobsite Saw has a 1.5 HP motor [15 Amp, 120 VAC 60 Hz Universal] equipped with a 10-inch diameter blade. It weighs 79 lbs and 108lbs when attached to the stand. The motor spins a Poly-V static dissipative belt and the cord is 9’6” long.
The SawStop blade bevels left 1°-46° and has the following range of cuts:
- Depth of Cut at 90º: 3-1/8”
- Depth of Cut at 45º: 2-1/8”
- Rip Right of Blade (Extended): 25-1/2”
- Rip Left of Blade: 9-3/4”
The saw is powerful enough and capable of handling an 8-inch by 13/16” wide dado blade. If a dado is attached to this tool you will need to attach a dado brake cartridge, which is wider, sold separately. Smaller dados WILL NOT work on this saw.
Adjusting Blade Elevation and Tilt
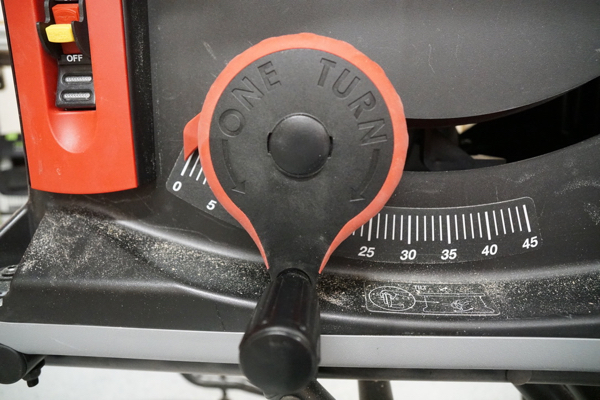
One of my favorite features on this saw is the blade height knob. It requires only one single clockwise turn to FULLY raise or FULLY lower the blade. [Other saws require multiple turns to raise or lower the blade]
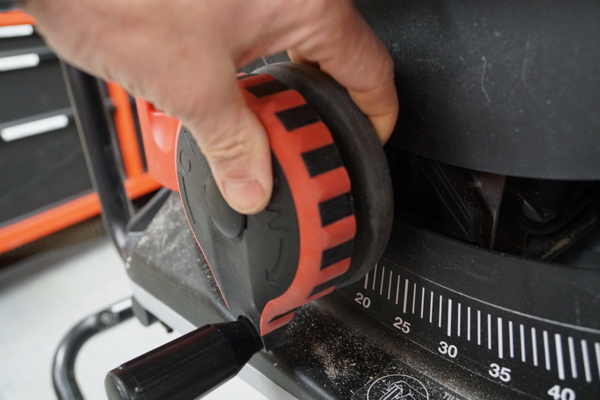
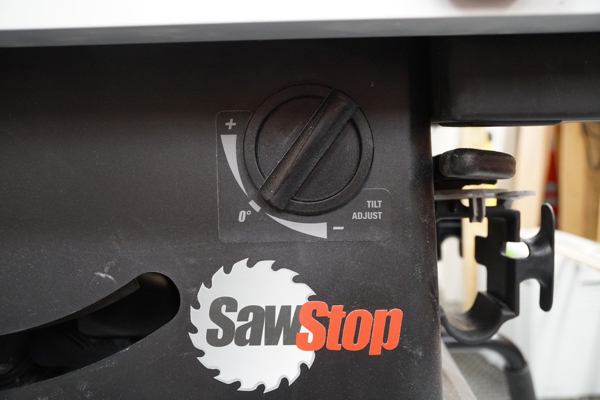
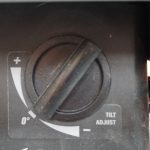
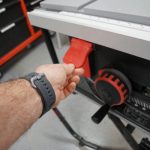
Changing the blade bevel is equally simple. A quick-tilt squeeze handle, located behind the hand wheel quickly and easily achieves your desired angle in 1° increments. The bevel stops and locks in place, as soon as you release the lever. A micro adjust knob then allows you to fine tune your tilt plus or minus a degree.
Power Controls
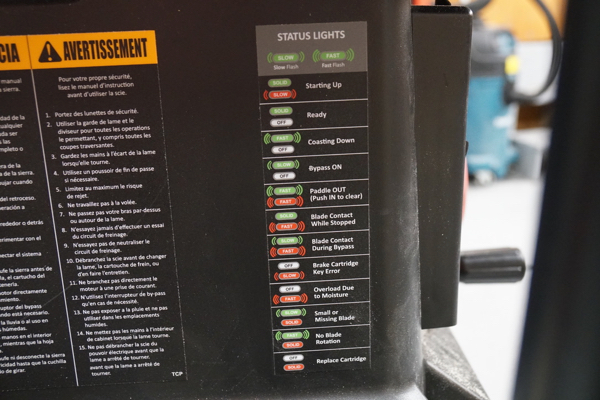
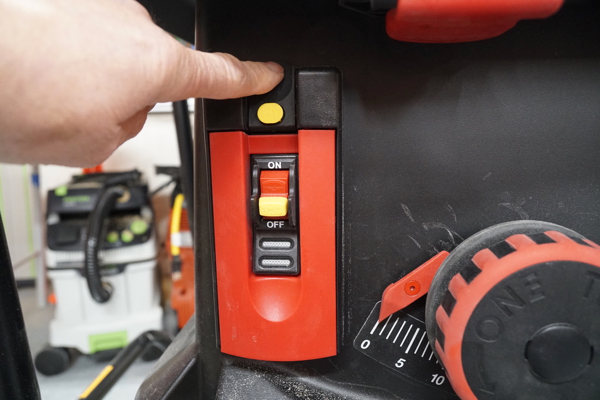
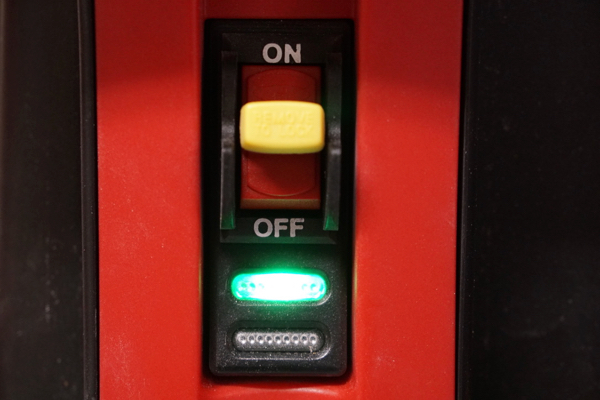
The SawStop table saw power control switch can be confusing at first glance. There is a power switch that controls the electronics for the saw and then a larger start / stop paddle. In between the two switches are green and red LED indicator lights.
The LED indicator lights provide up to 12 different conditions, and a quick reference, all weather label is attached to the side of the saw, next to the switch for quick reference. Additionally, there is a color coded guide with instructions on top of the saw accessory drawer, in case you lose the user guide.
SawStop also provides a high quality moisture resistant User Guide that stores in the accessory drawer – so you always have access to it for codes and cartridge information.
Conductive Material Bypass
Cutting CONDUCTIVE materials in normal mode WILL cause the saw brake to active.
Conductive Materials include:
- Green or very wet wood
- Pressure treated wood – contains copper solution
- Aluminum or other metals
- Foil
- Materials with Carbon
- Some laminates – with copper flakes
Using Bypass mode to Cut Conductive Materials
The saw can be set into bypass mode to cut conductive materials or to test the conductivity of a material you may be suspicious of. In bypass mode there is NO saw blade brake protection.
To Use ByPass Mode
- Switch power on and wait for red light to turn off.
- Press in and hold the bypass switch, wait for the red light to flash once.
- While pressing bypass button, pull out the red on/off paddle to spin blade. Keep pressing until red light flashes once, then release.
- The GREEN light flashes when the saw is in bypass mode.
- Push on/off paddle switch in to deactivate bypass mode and stop saw.
Note – there is a plastic key that allows you to disable bypass mode.
Testing Conductivity of Material
If you suspect, that the material you want to cut may activate the brake cartridge, then you can utilize the bypass mode to test the conductivity of the material.
Place the saw into bypass mode and make a cut or two. After cutting the material if the RED light is flashing fast, then the material is too wet or green to cut. If this happens, you will want to keep the saw in bypass mode to cut this material
Remember – once you cycle the saw power switch the saw comes out of bypass mode.
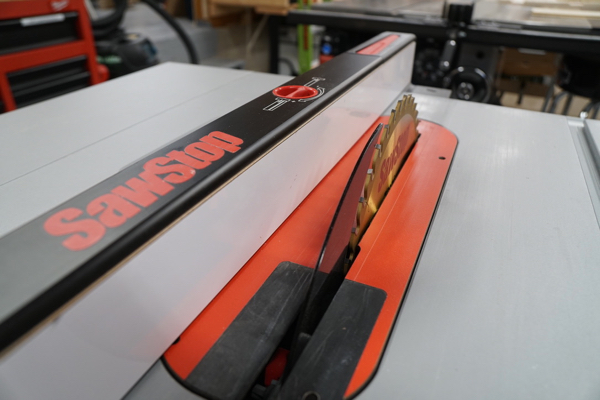
SawStop Rip Fence
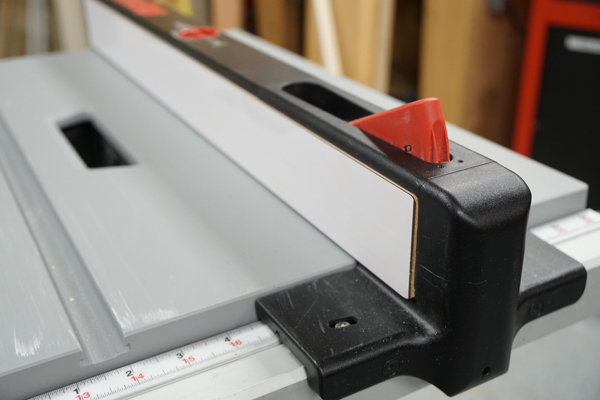
The fence is a T-Style Fence, which self-squares when locked into position. The “ErgoLock” rocker paddle switch lever is located on the top of the fence and locks and unlocks the fence. We found is fast and simple to use.
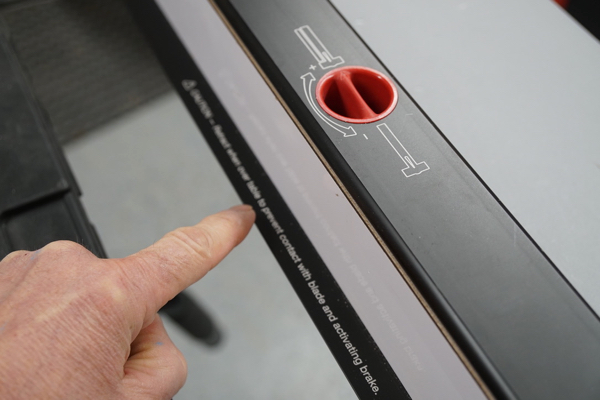
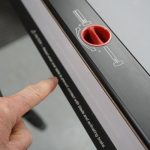
A red knob on top of the fence extends a support-shelf when needed to support material. This shelf would be retracted when the fence is over the table or table extension wing. [see below]
SawStop Table Extension
The SawStop Job Site Saw has a cleverly-designed table extension for ripping wider boards. A “flip-up,” release lever on the front of the saw allows you to slide the right side table. The table rides on rails and slides out for a maximum rip cut of 25-1/2” right of the blade.
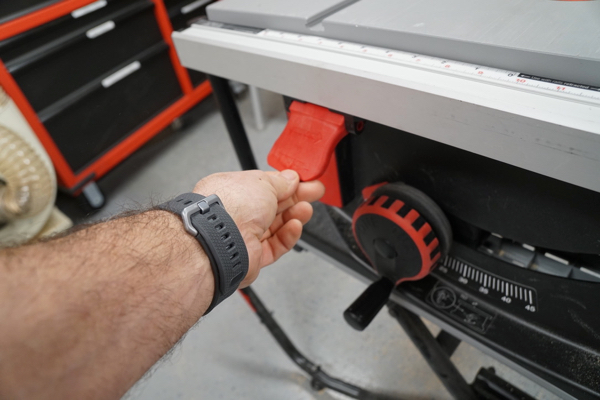
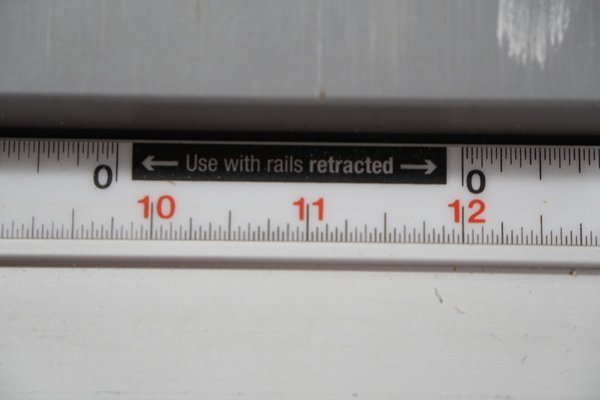
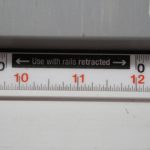
The width of the cut is shown by the red indicator line over ruler. The upper scale is used when the table is retracted and the lower scale is for when the table extension rails are extended.
Polycarbonate Blade Guard and Riving knife
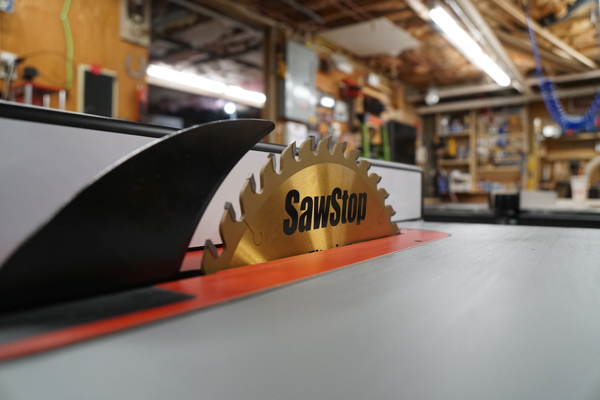
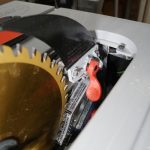
The SawStop Job Site Saw comes with a tool-free, riving knife, and low-profile blade Polycarbonate guard which increases visibility and still protects against kickbacks. A lever quickly allows you to switch between the micro guard and the 2.3mm thick, riving knife.
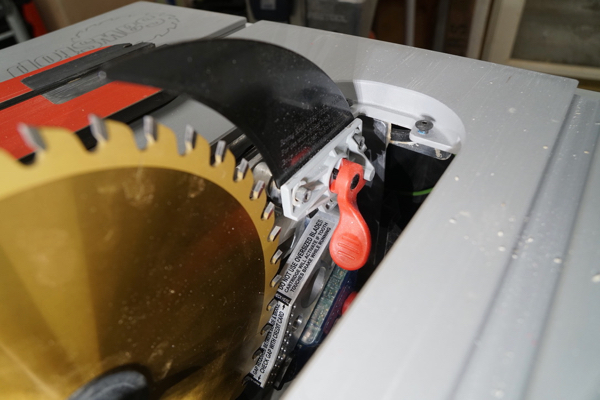
We’ve never been fans of plastic blade guards but the SawStop guard is designed slightly different. It has three independent operating wings on each side. These wings make it easier to lift a partial section to measure the fence to blade, and really shined when we were cutting on a bevel.
The blade guard spreader and riving knife are designed to be used with 10-inch blades with a kerf between 2.35mm and 3.5 mm, and a blade body of 1.8 mm and 2.1mm.
Table Insert Plate
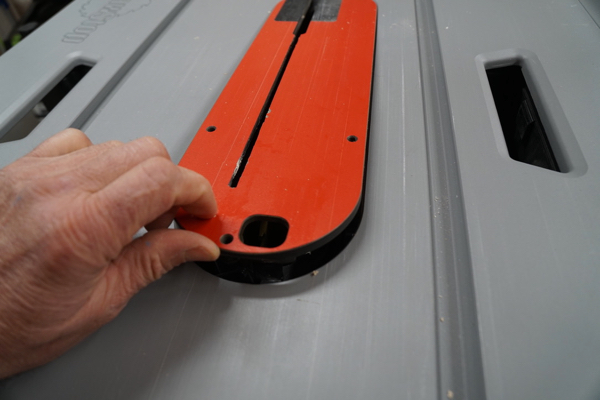
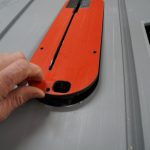
The zero-clearance insert that comes with the saw is tool free, and easily slides up and out for removal. This insert secures in place with a spring-loaded finger pull mechanism.
Accessory Storage Drawer
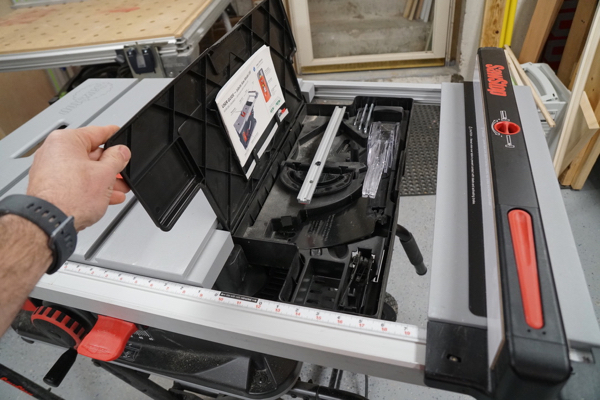
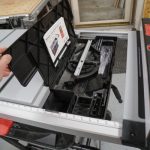
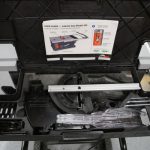
Located under the sliding extension table is an accessory storage drawer. We really like this set up and were impressed with the innovation and space usage. The accessory drawer conveniently stores the micro guard, riving knife, miter gauge, extra sensor cartridge, tools and user guide.
Fence, Power Cord and Push Stick Storage
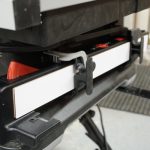
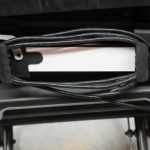
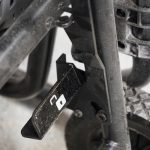
The fence slides into a storage holster on the right side of the saw and locks in nicely. On the right side of this fence holster is a power cord wrap. The push stick is also stored in this location and secured in place by a post and clamp mechanism. We found the push stick location awkward and ended up leaving it out. A preferred location would be on the fence. [Similar to the Dewalt design]
Dust Extraction
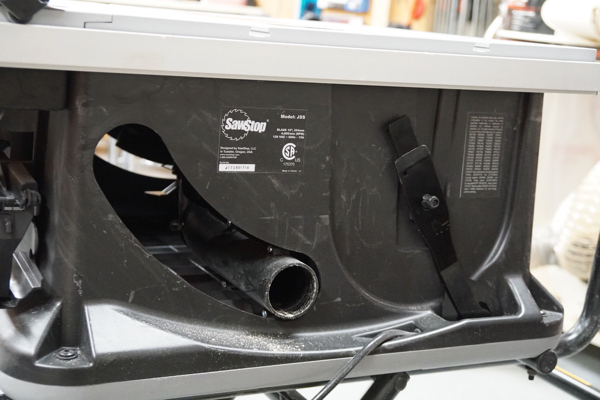
The SawStop has a rear dust port with a 2-1/2” O.D./ 2-1/4” I.D. dust port. Inside the saw cabinet there is a plastic blade shroud that covers 75% of the blade and directs sawdust out to the port. This shroud is hinged in two locations, for blade access and cleaning out dust. Magnets secure the shrouds in place.
When connected to a vacuum the saw collected dust well. When not connected to a vacuum the shroud and also the plastic grid at the base of the saw collected a ton of dust and became clogged. It was difficult to clean out and we wondered if the massive sawdust buildup [heat would negatively affect the saw brake sensor or electronics.
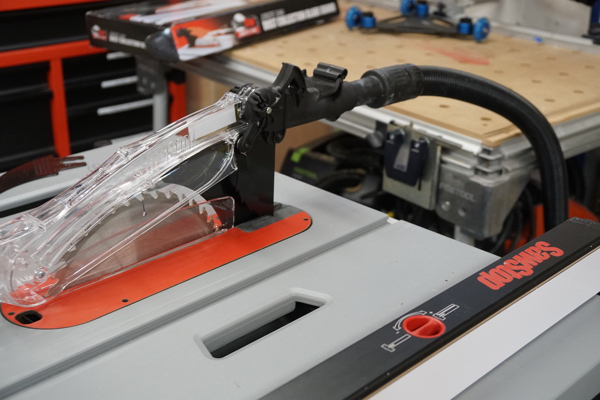
Optional SawStop “Top-Deck” Dust Collection
There is an optional “dust collection” blade guard [model JSS-DCG] that you can purchase for this saw. The beauty of this shroud is that it offers a top 1.5” O.D. dust port.
The guard design shapes blade turbulence to better collect above-the-table dust. The only issue we saw with, unless you have two vacuums, is you’ll have to rig up a splitter and smaller vacuum house to do this.
Blade Size and Blade Changing
SawStop recommends that you use a standard size 10-inch sawblade or an 8” dado set up to 13/16” max. The saw will not start unless a 10-inch blade or 8” dado with the proper dado cartridge is inserted. Non-standard blades, including unusually thin or thick blades may cause injury or damage the saw.
Changing the SawStop blade is the same as other saws. Included wrenches are used to remove the arbor nut, washer and blade

Changing the SawStop Brake Cartridge
- Disconnect the power
- Raise the blade fully, zero tilt.
- Remove blade insert and guard
- Turn brake key 1/4″ turn clockwise and pull out
- Pull bake off trunnion pins
- Slide new brake on both pins. Insert key and rotate 1/4 turn counter-clockwise
- Reinstall insert and guard.
Resetting the SawStop After Activation
- Disconnect the power
- Rotate the blade elevation hand wheel fully counter-clockwise then full clockwise to reset the blade
- Remove table insert guard
- Remove brake key, arbor and washer
- Use flat, beveled end of the blade wrench as a lever to push the blade slightly away from the arbor.
- Use the blade wrench to slightly move the cartridge at both pins. Work the cartridge and blade slowly, until free
- Install new brake, and blade.
TIP: Double up the blade wrenches to increase the thickness and leverage of the blades to remove the blade and cartridge.
Accepts a Dado Blade
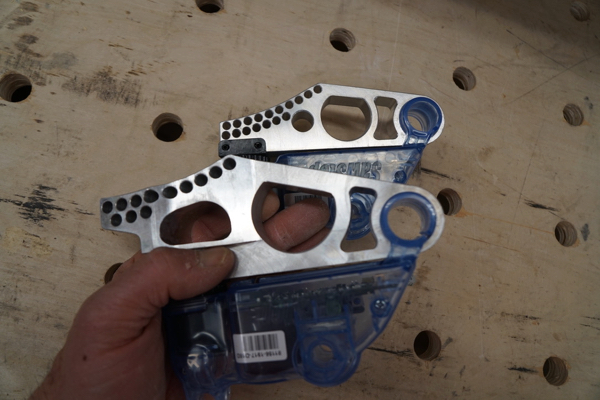
The SawStop JSS Saw will accept an 8” dado. In order to achieve SawStop protection you will need to purchase an optional dado cartridge. This cartridge is taller and wider to fill in the 2” gap for the shorter dado blade. An optional dado insert is also available.
SawStop Table Saw Stand
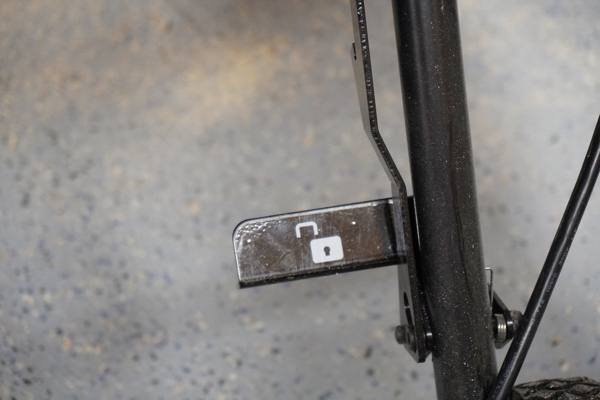
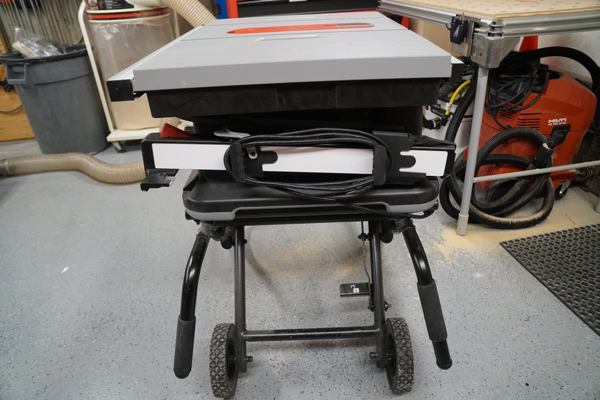
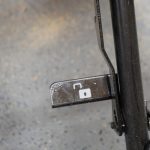
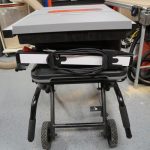
The saw mounts to a really nice pedal-activated lock release. We liked how easy this stand was to open and fold. One pedal press and the tubular designed stand unfolds from a compact vertical storage position to cutting mode.
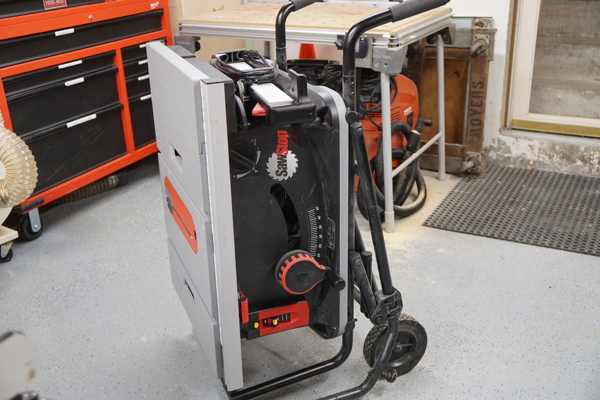
In transport mode, the stand acts as a dolly with 8” wheels that allow you to easily move it over rough terrain and up ramps and stairs. We find that 8” wheels seem to be a sweet spot for residential job site maneuverability.
Using the SawStop JSS Saw
Obviously the BIG DRAW for purchasing and using this saw if the safety system.
We used this saw on a large remodel over 2-3 months. We ripped framing, plywood, trim, oak flooring and PVC. The entire crew agreed that even without the safety system this was a high quality, powerful, premium machine with great features. The saw never tripped or was falsely activated.
We found the saw fence easy to adjust, with excellent parallelism with the blade. We had some minor fence alignment issues, but after closer inspection we concluded it to needing to use care when ripping large sheet goods, as you can bump the fence out. Adjusting the saw blade parallel to the miter slots was quick and easy to do, unlike other saws.
The blade elevation hand wheel is the best and fastest I’ve ever seen and my FAV feature on this saw, after the safety system.
SawStop JSS Table Saw Improvements
This is a premium saw and there really is not a lot to ding it on. I was annoyed with the sawdust build up at the grid, located at the base of the saw. I’d like to see an easier way to clean this out.
Additionally, for the cost of the saw it should come with a second brake cartridge so users can continue work if they experience an activation due to conductive materials.
The bypass override key is a cheap plastic tab and one that we fear could fall out or get lost. We’d like to see this lock key design improved.
Testing the SawStop Jobsite Saw JSS
We were curious if using the saw in the rain would activate the brake on this saw. We misted the blade with water, and soaked a board in a 5 gallon bucket of water to 30% moisture reading. Cutting this wood did not activate the blade brake. Some of the boards tested 30% wet on the surface.
Obviously, this a case-by-case basis on whether the brake will activate. There are a lot of variables such as; wood grain, wood species, if the rain just wets the wood surface or if it soaks deep into the wood, etc.
Embedded finish nails and staples did not set off the saw. Pressure treated wood DID and did not set off the saw. Our PT wood was 25% wet and rated for ground contact. PT wood can contain copper-based pesticides. Wood with ice on it did not set off the saw. We wet a spruce board and placed it in the freezer to see if the glazed ice would activate the saw.
The items that tested for conductivity that set the saw off were PT wood, foil insulation and a sausage.
SawStop Jobsite Saw JSS Cost
Whether you’re a hobbyist, woodworker or a in business as a contractor the money spent on the SawStop safety system is worth its weight in gold!
The SawStop JSS costs $1399 online here.
Extra brake cartridges cost $69.00 and you’ll spend $89.00 for a dado cartridge.
When you stop to think about cost vs. price it makes me think. the cost of a tables accident FAR outweigh the price of this tool.
Overall Impression
The SawStop Jobsite Saw JSS is pure innovation with premium features, functionality and compact portability. As a remodeling contractor that uses a table saw from frame to finish this saw allows me and my company to achieve precision, quality and most importantly SAFETY!
SawStop JSS Job Site Table Saw Video Review
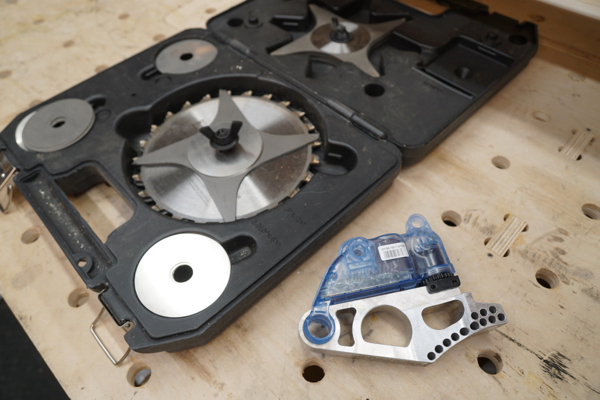
- Dado and Regular Cartridge
- Dado Cartridge
- Optional Top Dust Port Guard
- Activated Brake Cartridge
- Activated Brake Cartridge
- SawStop Cartridge
- New and Activated Cartridge
- Bevel Micro Adjust
- Dual Fence Measurements
- Fence Indicator
- Fence Lock Flip-Lever
- Material Support Shelf
- Table Extension / Accessory Storage
- Accessory Storage
- Table Extension Lever
- LED Diagnostic Guide
- ByPass Switch
- Power Controls
- SawStop
- Stand Pedal
- Rear Dust Port
- Zero Clearance Insert
- Riving Knife / Brake Below
- Fence Holster
- Sde View
- Cord Wrap
- Stand Foot Pedal and lock
- 8″ Wheel
- Vertical Storage / Transport
About the author
7 Comments
Leave a comment
Disclosure
Product reviews on this site contain our opinion of a product or service. We will always strive for objectivity and transparency in our reviews. Our goal is to provide readers with honest, objective information based on our own experiences. We never have and never will accept payment in exchange for a positive review. Many of the products that we review are provided to us for free by a manufacturer or retailer. In some cases, we also have advertising or affiliate relationships with manufacturers and retailers of products and services we review. For additional information please visit our additional disclosure policies.












I have extensive experience on this saw. The fence is just not good enough. Hard to get square and too much flex. If sawstop adopted the dewalt, Hitachi, or skilsaw fence I would consider it.
Bengt, to square the fence just pull it down toward you and then lock. As to flexing, as Rob R said it may flex if you bump it hard with large sheet goods. For me these minor annoyances don’t override the safety feature.
Should mention I am using the newer SawStop JSS Pro.
Always good to know what it can do on a real site with a lot of people using it.
For dado’s you will also need the table insert.
To allow the saw safety system to work correctly with dado sets, you have to have the right blades. Your pictures show the Dewalt set. If you look at most of the Freud sets, you will see a pronounced hump behind the cutting edge. This is a feed limiting European safety design (I think it’s a requirement to have a feed limiting feature of some sort, but not sure and it doesn’t matter in the US). Sawstop sent out a letter to its dealers describing the problem (I suspect other Europe based brands use a similar design). The hump either slows down the energy absorption (by not cutting into the aluminum as fast) or slows down the over center trip point by softening the ‘bang’ (energy transfer or recoil).
Recently, Feud started introducing sets that are ground with a curved back in a more traditional design. The Forrest blades never had that and are on the ‘good’ list from Sawstop. Others undoubtedly will work as well. Something to be aware of.
Thanks!
Absolutely fantastic saw. I run it everyday on the jobsite and have never had a false trip or any trip to be exact. Great saw!
Hello,
Your evaluation of table saws is excellent. As a systems engineer I really appreciated the scientific approach to your evaluation. I’m seriously considering the Saw Stop Job Site Pro;
however, I’m very concerned about the integrity of the fence. During my inspection in the showroom the fence flexes. In your evaluation you commented that you experienced issues with the fence too. Can you elaborate how serious of an issues the fence integrity is.
Your feedback is greatly appreciated.
V/r
John
John, Thanks for the kind words. It’s a great question that is fairly easy to answer. If you’re using this as a jobsite saw, the fence is fine. When I say that I’m talking about using it for basic ripping operations, framing materials, sheet goods, even trim. But if you want to use it as a mobile workshop saw that you want to do higher precision work with, then I’d say it’s an issue. There are a lot of guys looking for a saw for their garage, or shop with limited space, and these are great saws, but not as accurate as a full size cabinet saw.