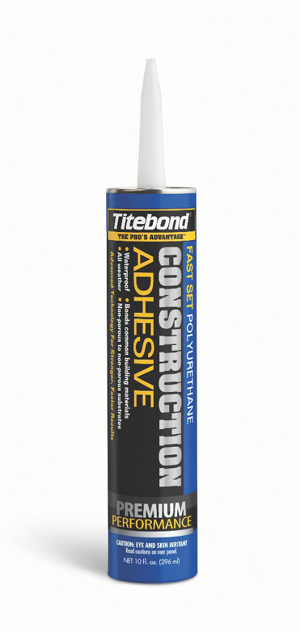
New Titebond Fast Set Polyurethane Construction Adhesive and Building a Sandbox
New Titebond Fast Set Polyurethane Construction Adhesive and Building a Sandbox
 Last summer our 2-year-old son was perfectly content with his blow-molded plastic turtle sandbox. This season (a year older), he looked like a giant sitting in it. It was high time I build him something he and his sister can enjoy for years to come and have it big enough for them and all their sand toys. Treated wood is about the best material to use for a sandbox, but it comes so swollen from the high moisture content that fasteners have to be tightened periodically as the wood shrinks.
Being a contractor, I hate call backs (including ones in my own home), so I wanted to be able to build the box and just let the minions have at it. The last thing I wanted to do was to check the sand box every year and snug up some screws or re-set some nails. While I was planning the build was roughly the time I first heard about a new product from Titebond called Titebond Fast Set Polyurethane Construction Adhesive. It promised a fast set that would get stronger over time, bond to wet wood, and not drool out of the tube like other adhesive products. It sounded like just the ticket for the sandbox project.
Benefits of Titebond Fast Set Polyurethane Construction Adhesive
- Fast setting – provides fast initial bond that gets stronger over time
- Strong – Permanently bonds most building materials in any construction application
- Cold weather extrusion – Extrudes down to 32°F
- Waterproof – Can be used in interior or exterior applications
- Versatile – For use on wood, metal, plastic, foam, mirror, concrete and brick
- VOC-compliant – Complies with all major green building organizations
- Low odor – Safer alternative for interior applications
- Non-shrinking/
Flexible – Will not become brittle, crack or lose strength - No Drool – Eliminates the wasteful mess and saves money
Other Uses
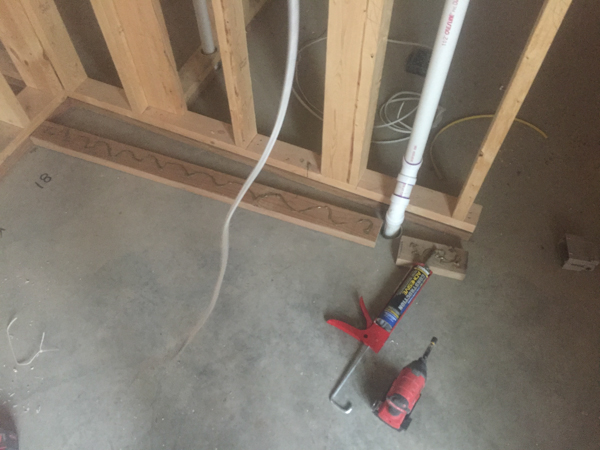
Besides bonding wet, treated wood together, Titebond Fast Set Polyurethane Construction Adhesive is great for subfloor installations, concrete wall caps, carpet tack strips, step repairs, landscaping repair, structural insulated panels (SIP), cabinets, countertops, drywall, paver caps and masonry veneer. Personally, I use it when setting treated bottom plates to concrete, especially when the slab is hydronically heated. I use a minimal amount of tapcons, pound-in anchors, or powder-actuated fasteners to keep a wall pinned in place until the adhesive sets. Every mechanical anchor into the floor is another chance to hit the heat pipes. Sometimes during the pour, the tubes can move a little bit or even start to float if their staples get popped. Gluing the bottom plate gives me peace of mind that the wall will stay put.
Building a Sandbox
1.) Gather Supplies – The area we had available was roughly 10’x14′ so it easily could accommodate a box 8’x8′. I picked up 5 – 2x10x8′ green treated planks (that were all exactly the same length), a short 4′ treated 4×4 post, some 3″+ construction screws and a tube of Titebond Fast Set Polyurethane Construction Adhesive.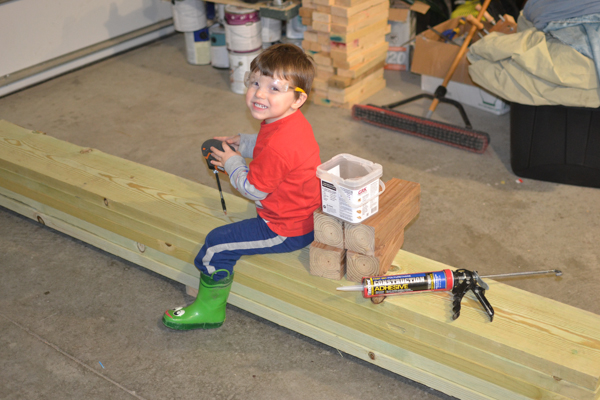
2.) Cut up the 4×4 – Cut the 4×4 post up into 4 pieces that are the width of your 2×10 planks. They can be a hair shorter but if they’re too long the seats will have a hard time laying flat in a later step.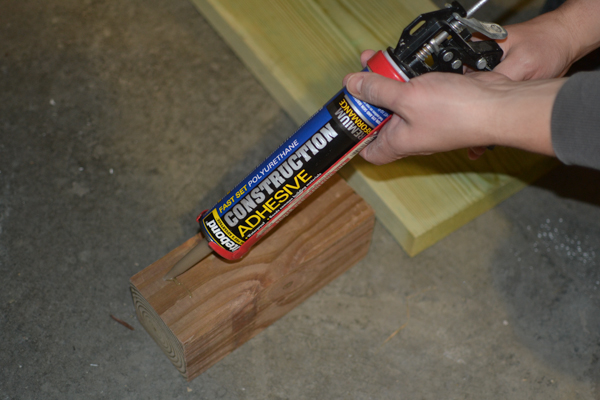
3.) Apply adhesive to one face of the 4×4 and screw the plank flush to the 4×4 section. Do this to both ends of two planks.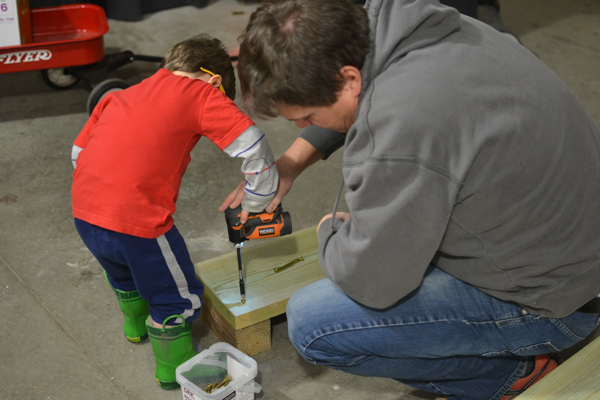
4.) Tip up the two assemblies, apply adhesive to the near ends of the two remaining 2x10s, tip them up and screw them off to the 4x4s. The sandbox now resembles a box shape.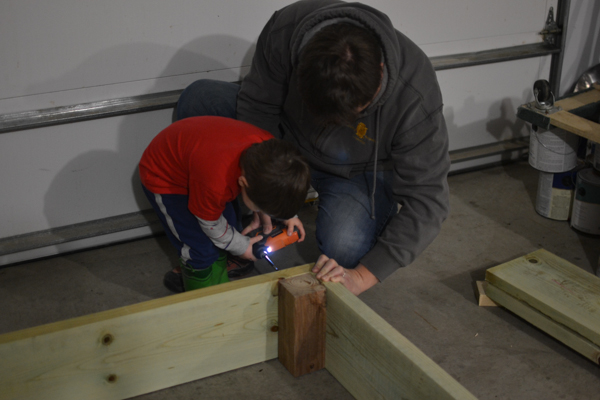
5.) Take the remaining 2×10 plank over to your miter saw, set it to 45 degrees and cut a trapezoid piece with 6″ being the “short to short” measurement. If you have a 12″ sliding miter saw you can make this cut in one pass.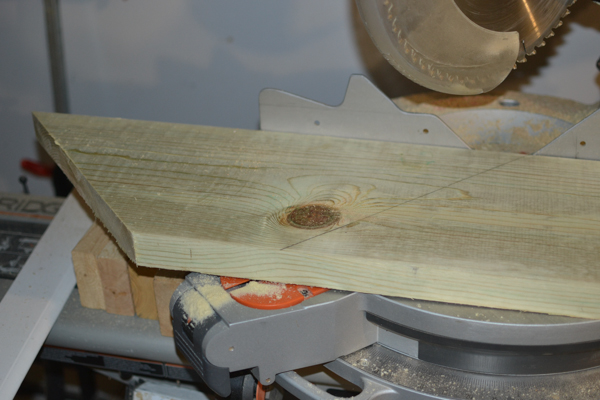
6.) Square up the box by pulling your tape measure to opposite corners and comparing the measurement from the other two corners. Once the box is square, glue and screw down the seats. The seats act like gussets to help the box remain rigid and square.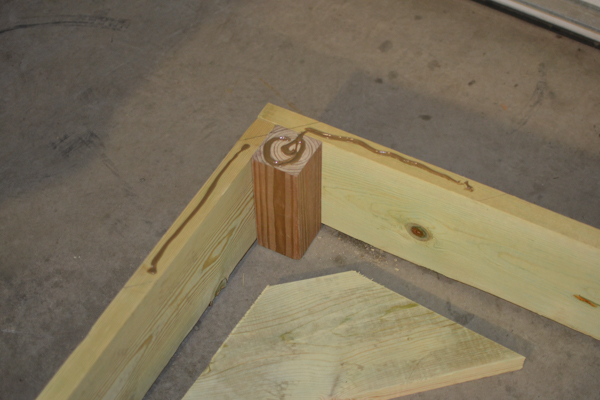
7.) Fill it up with sand and enjoy. The sandbox is roughly 8’x7′-9″x9-1/4″ or almost 48 cubic feet. That’s a lot of sand so your best bet is to buy it in bulk at the local landscaping supply or ready-mix supplier.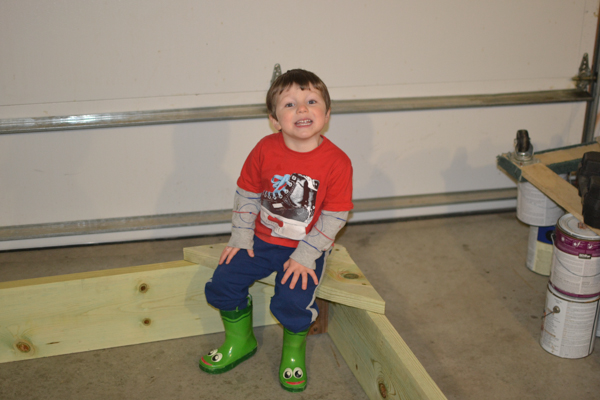
About the author
Disclosure
Product reviews on this site contain our opinion of a product or service. We will always strive for objectivity and transparency in our reviews. Our goal is to provide readers with honest, objective information based on our own experiences. We never have and never will accept payment in exchange for a positive review. Many of the products that we review are provided to us for free by a manufacturer or retailer. In some cases, we also have advertising or affiliate relationships with manufacturers and retailers of products and services we review. For additional information please visit our additional disclosure policies.


